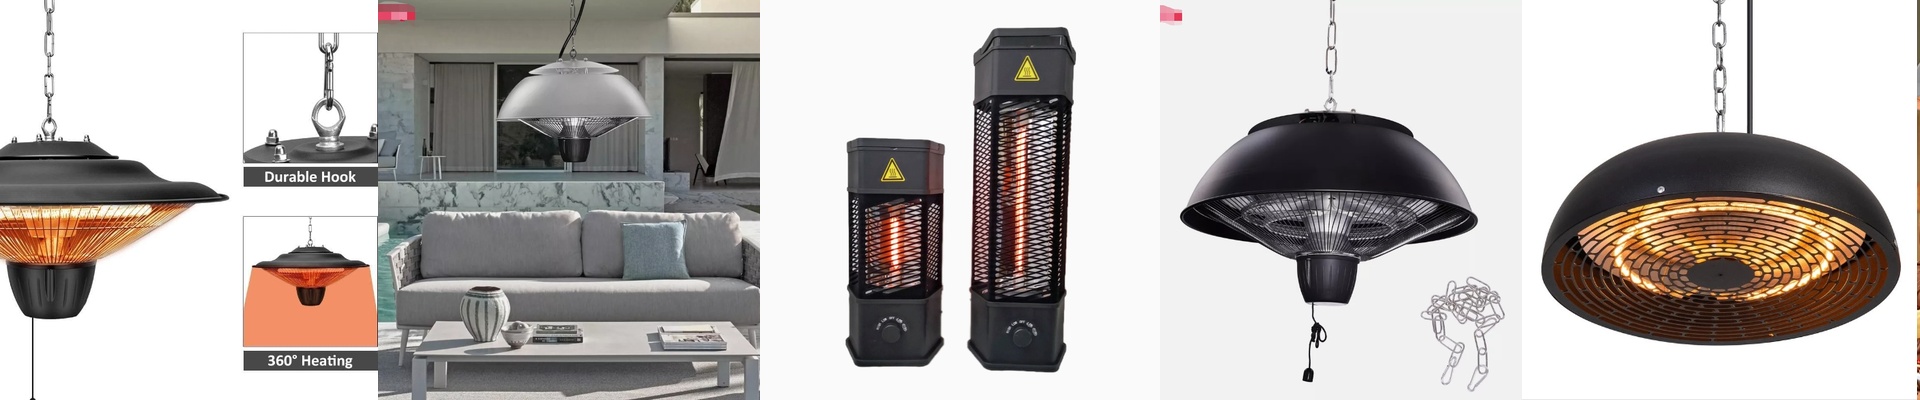
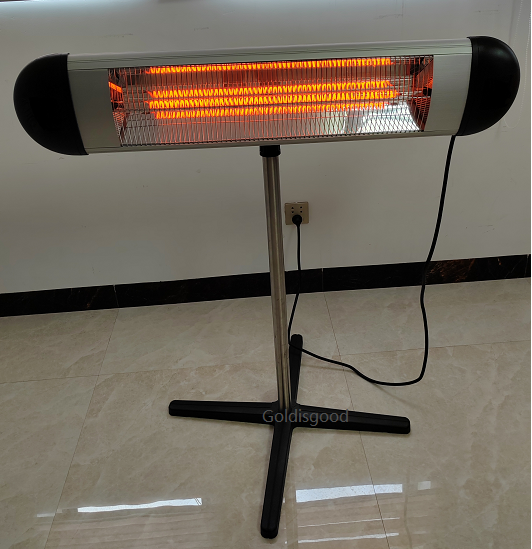
The Truth About IP44 Sealing in Infrared Heaters
When you’re building a waterproof infrared heater, you’re basically fighting a war between two things that hate each other: moisture and extreme heat. Most of the time, these heaters fail at the lead-out point. That’s the spot where the heating element meets the external wiring. If that seal isn’t perfect, moisture creeps in. Once that water hits the high-temp zone, the insulation just burns out. Then you get arcing, a short circuit, and a dead heater. Not a great look.
Why the cheap stuff fails
A lot of off-the-shelf heaters rely on basic rubber or silicone gaskets. Honestly? They can’t handle the heat. When you’ve got a quartz tube running at full blast just inches away, those seals get cooked. They dry out. They crack. And once those tiny micro-cracks appear, your IP44 rating is basically a suggestion. Water gets in, the terminals oxidize, and the whole unit quits on you.
How we actually fix it
We do things a bit differently to stop that from happening. Instead of just slapping a bead of glue on the outside and hoping for the best, we pot the leads deep into the housing. We use high-Tg epoxy resins—basically, stuff that doesn’t soften up when things get hot. This creates a solid mechanical bond. It keeps the wires from shifting around as the metal expands and contracts during use. Plus, we use fluoropolymer-coated wiring. These wires won’t melt or flake off when the heater hits its peak temperature. We also use a graded approach, moving from high-temp ceramics to specialized resins. It closes those annoying air gaps where moisture loves to hang out.
One thing to keep in mind
This makes the unit a total tank, but there’s a catch. You can’t just cut and splice these wires in the field. If you strip the leads back too far, you’re breaking that seal. To keep it waterproof, you’ve got to wire it exactly how the specs say. If you wing it, you’re just creating a leak point.