


Keeping Bathroom IR Heaters Safe (And Dry)
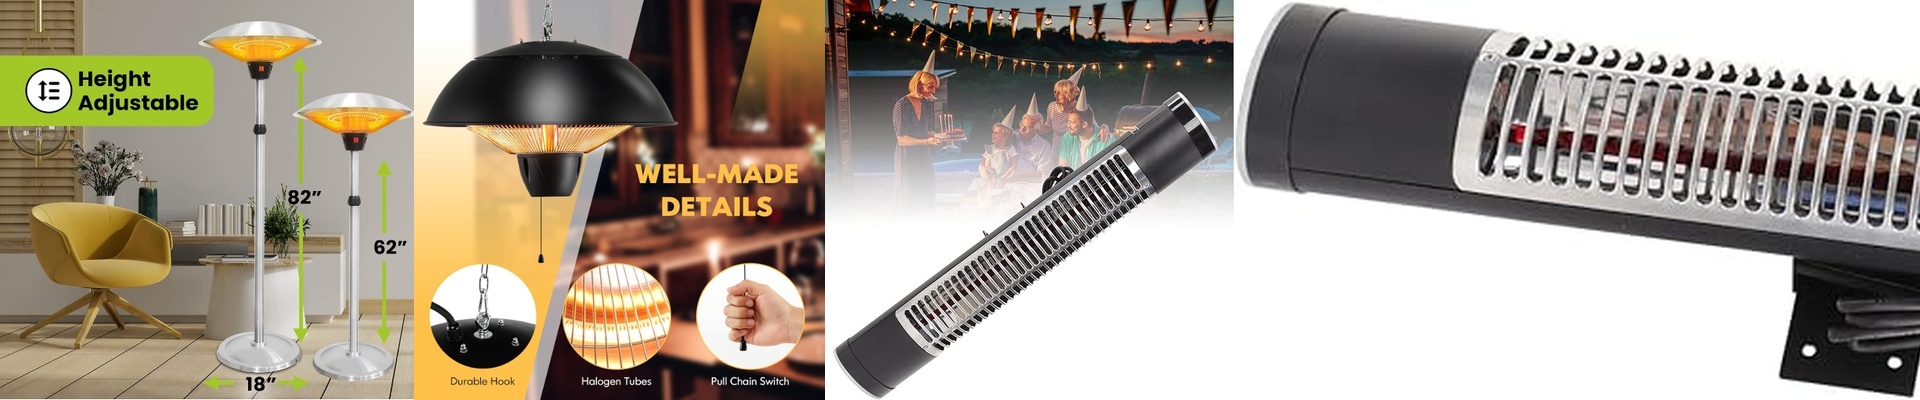
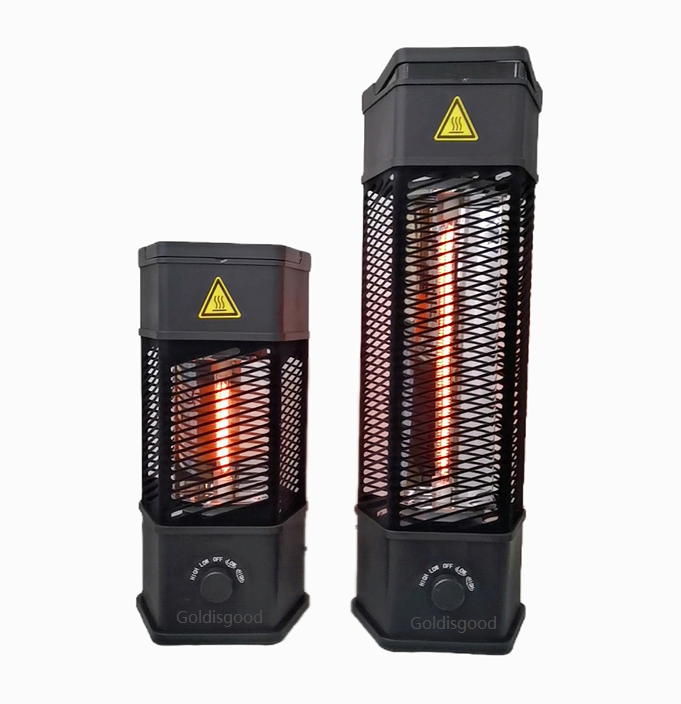
Let’s be real: putting an infrared heater on a bathroom ceiling is basically asking for a fight with steam and condensation. Water and electricity don’t mix. If your insulation slips up, you’re looking at short circuits or worse. To keep things safe, we lean on a few specific tricks. First, we don’t just use basic heating elements. We put high-grade ceramic insulators at the ends of the lamps. This stops the current from jumping over to the chassis. You also want a housing with an IP44 or IP65 rating—basically, a seal that keeps the moisture away from the wiring. And please, for the love of everything,don’t forget the drip-loopin your wiring. Without it, water just follows the wire straight into your junction box. Then there’s the grounding. We give these units a dedicated Earth bond. If the insulation ever fails, a grounded metal enclosure makes sure the RCD trips immediately. We’re pretty strict about this, too. We test for leakage current at 110% of the rated voltage. If we see more than 0.75mA? The unit goes in the scrap heap. Now, about the materials. We go with quartz glass for the emitters because it handles the heat like a champ. But here’s the catch: the spot where the glass meets the metal cap is usually the weak link. To fix that, we use high-temperature silicone gaskets to plug the gap. One thing to watch out for: those tight, high-IP enclosures aren’t great for airflow. This means the internal drivers get way hotter than they would in some open-air industrial heater. When you’re picking your thermal fuses, don’t look at the room temperature. Look at the temperature inside that cramped housing. If it’s too tight, your electronics will just fry. Lastly, just wire it up to a GFCI outlet. It’s a simple extra step that gives the person using the shower some real peace of mind.